Looking for daily content creation support? Meet Alkai, an innovative social media assistant from Ripl. With the power of AI, Alkai simplifies content generation. It effortlessly crafts video drafts, complete with captions, aligned with your posting schedule. Just upload your media and hit the share button!
As a loyal reader of Ripl's blog, you are granted an exclusive chance to enroll in Alkai's limited free beta version. Don't delay, as these invitations are in high demand!
Don't let this opportunity to transform your social media strategy slip through your fingers. Secure your spot in the free Beta app today.
Now, We all have some familiarity with tactics to increase engagement on our Instagram feed posts—intriguing headlines, thought-provoking questions, and a strong CTA (call to action), to name a few. But what about increasing engagement on Instagram Stories?
One of the simplest solutions is to use Instagram’s engagement story stickers! Of course, you can use a single static image, but if you really want your small business to look more polished, we recommend using social media templates like the ones inside the Ripl app.
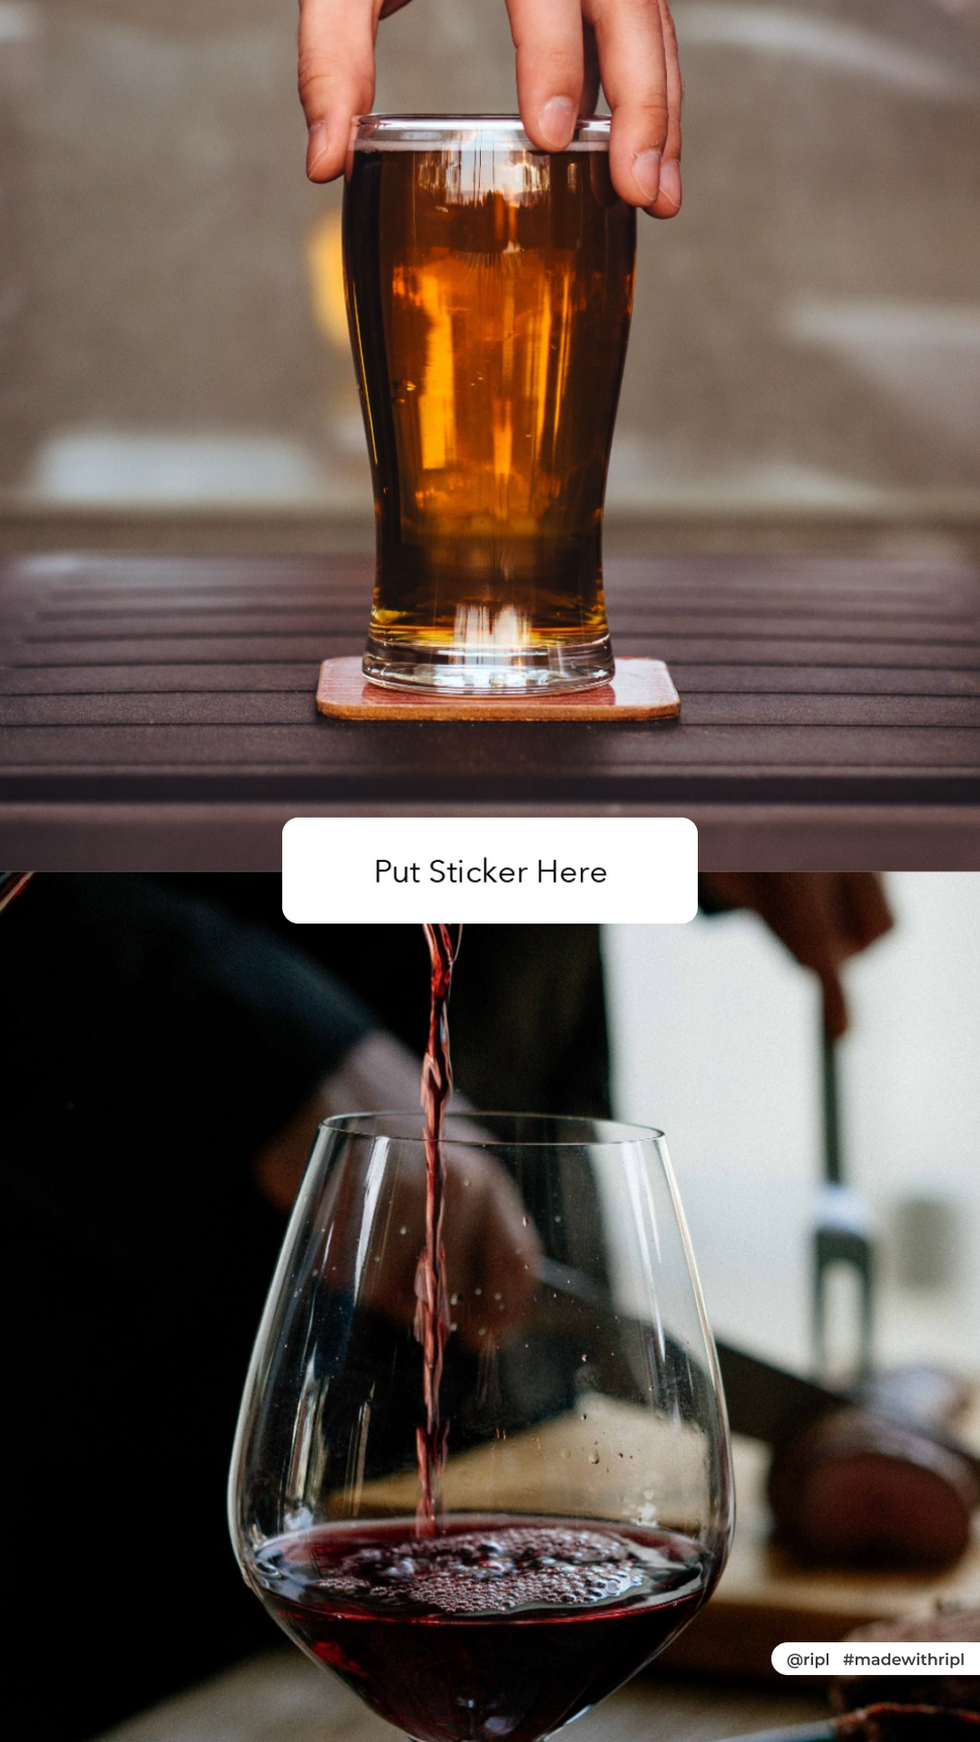
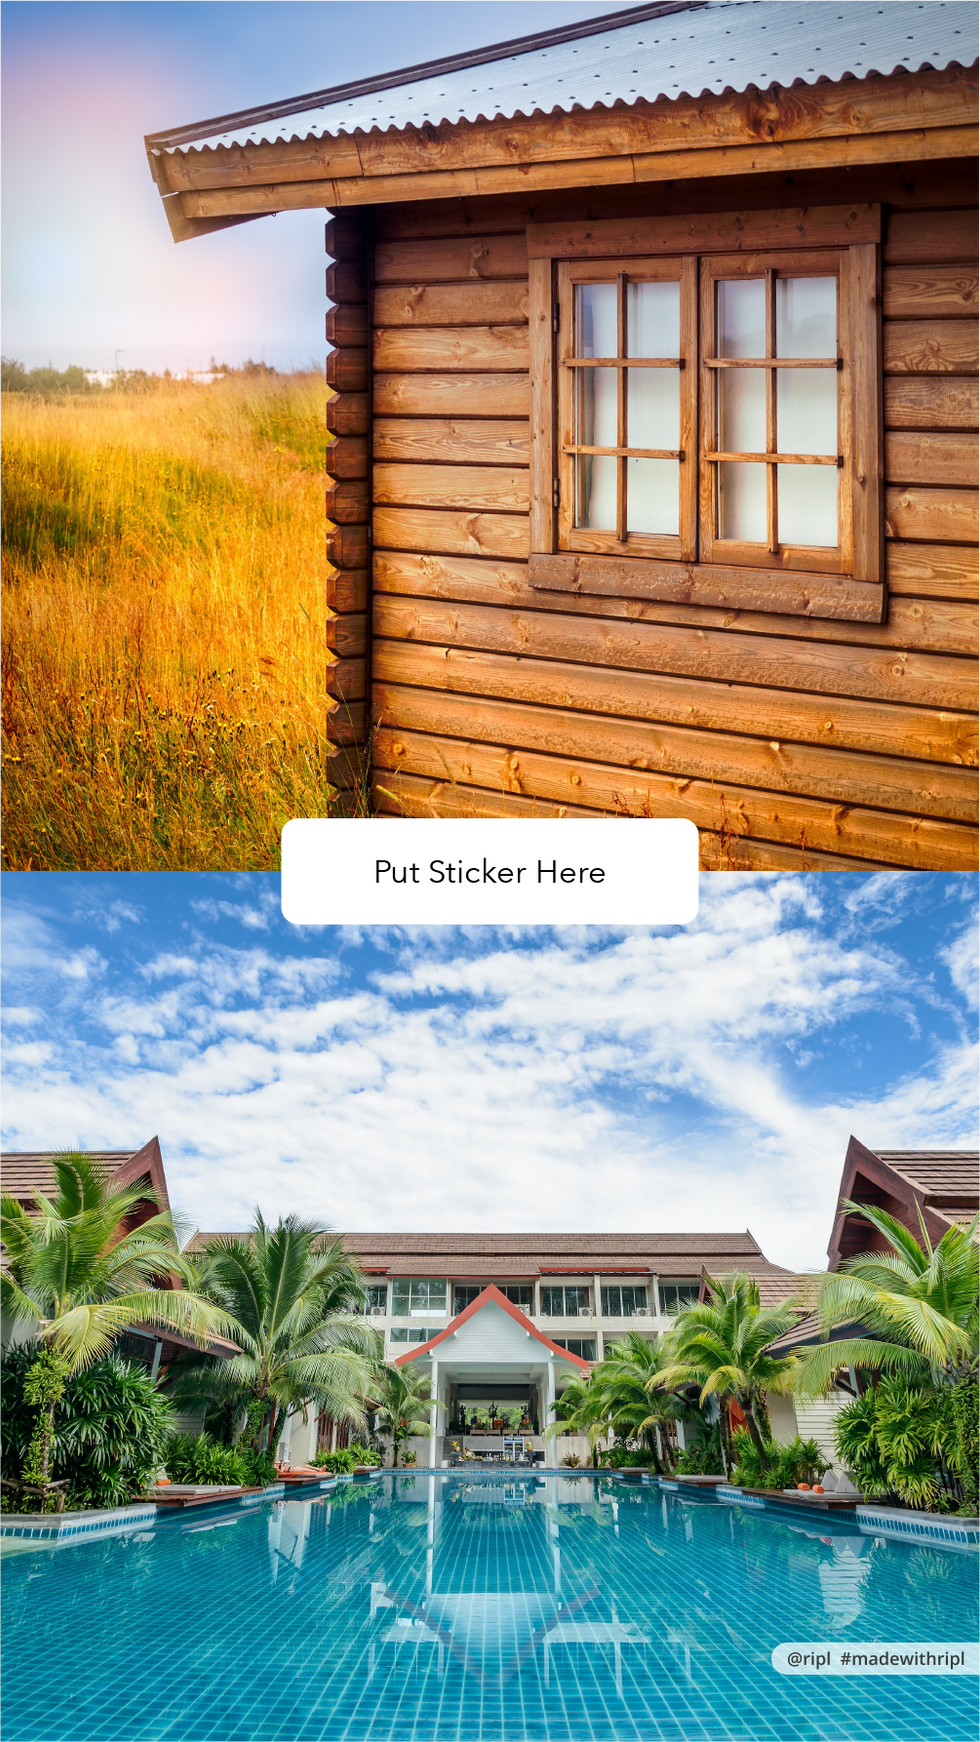
Today, we’ll show you a step-by-step recipe for creating an engaging This or That Instagram story and throw in a guide with free templates to help you get started! This will take less than 20 minutes to complete and the more you do it, the faster you’ll be able to create a this or that Instagram Story in the future!
Keep reading or jump to the recipe.
Prep time: 15 minutes
Total time: 20 minutes
Serving size: 2 Stories per week
Yields: 3 weeks of Story content
Ingredients for a This or That Instagram Story
First things first, you need to get your ingredients together.
For this recipe, we’re keeping it simple:
Ripl subscription
Instagram app
A Ripl This or That template (Pick one here)
Two images (Optional to add your own flair)
Ripl subscription
Ripl will be your new social media BFF to ensure polished, branded Instagram Stories. In addition to Stories, you can create everything from video posts, Reels, and even Facebook and Instagram ads!
New to Ripl? Try out our free 7-day trial to access all our amazing templates. Did we mention that you can access it on both our mobile and desktop versions?
Instagram app
This step is obvious, but we can’t in good conscience call this a recipe for Instagram without pointing this step out.
Double-check that you have the most up-to-date version of the Instagram app to ensure all the features work correctly and that you are signed into your Instagram business account.
A Ripl This or That template
Pick a template from the Ripl Recipe This or That collection.
Two images to give context to your poll
This or That Stories use a customer poll to spark interest. To create a successful this or that poll, you will need two images for your story that catches your audience’s attention and gives context to the question you’re asking. Ripl templates come with 2 images already selected, or you can upload your own.
Ripl Tip: Using images and themes that relate to your business is great. For example, if you are a restaurant business, you may do a This or That Story of “Sweet or Savory” and upload two images of your own dishes.
Directions for a This or That Instagram Story
Step 1: Log in to Ripl
Start by logging into Ripl to create your This or That Instagram Story. You can do this from either mobile or desktop.
Step 2: Select a This or That template
Once you select your template, you will be taken to the Customize screen.
This is where you can customize the Story template with your own photos and branding.
Step 3: Customize a template
In this next step, you can customize the images, font, or text. This step is recommended but not required. Depending on the template you choose, you may not need to include text and instead let the images, in combination with the poll choices, speak for themselves.
Ripl Tip 1: You can save your brand colors, fonts, and logo in your Ripl account to make content creation faster! To build brand awareness for your business, we recommend including your logo in all your posts and placing it in the lower corner of your post.
Ripl Tip 2: Opting for animated Story posts? Consider turning Brand Slide off; otherwise, your poll may cover some of your brand text on the slide.
Step 4: Download the image to your phone
Once you are happy with your design, click “Next” and then click Next and select the option to share your post. This will bring you to the screen where you can save your Story post.
Under “Choose channels,” select “Save to Computer” on desktop or “Save to Photos” on mobile, toggle off any connected social channels, and then tap “Share”. This will save the image to your phone’s photos or to your desktop.
If you are working from a desktop, you can easily get the Story posts onto your phone by logging into the Ripl app and tapping on the “My posts” tab. Tap on your post and select “Reshare”. Make sure “Save to Photos” is toggled on and tap “Share” and the photo will be saved to your device.
Step 5: Upload a photo to your Instagram Stories
Now you will need to upload your Story posts from Ripl into Instagram Stories to start building your This or That polls.
From your phone, open the Instagram app and make sure you are in your business profile.
You can bring up your Story screen by swiping right or tapping on the “+” button on the top of your screen and selecting “Story.”
This screen is where you will add your This or That post. You can bring up your photos by tapping on the photo square in the bottom left corner or swiping up on your screen. It should be the first image in your gallery. From there, tap on your This or That post to bring it into the Story edit screen.
Step 6: Tap into Stories and engagement stickers and select “Poll”
The next step is to add your poll. On the top right of your phone screen in the Instagram app, tap into the Stories engagement stickers and select “Poll.”

Step 7: Type your 2 options into the buttons
If there isn’t a question in the template image, here is where you can type in your question for the poll. From there, type out your two options into the buttons. Keep it short—aim for one word per option.

Step 8: Choose your position and size
Choose the position and size of the poll by dragging your finger along the screen and pinching the poll to expand or minimize.
Step 9: Add to your Story
After you are happy with the position and size of your poll, you are now ready to add the post to your Story! In the bottom right corner, tap “Share to your Story”.
Step 10: Check the poll results
Now is the interesting part! Check the poll results to see what your audience has to say.

Within 24 hours of sharing your post, make sure to go back and check your poll results. First, head to your Stories and go to the post with your poll. Swipe up to see the story insights. To see responses, tap on the eye icon. This will show you who voted for what.
Ripl Tip: If you don't get back into your Stories within 24 hours, don’t worry. You can easily access past stories by heading to your archives. Click this link to get the instructions on how to do it.

To share the poll results, tap “Share Results” to show your audience the results. Here you can add a comment about the results, for example, if you agree or disagree, or if the results surprised you.
Ripl Tip: Reply to respondents: If you want to start a conversation with your followers about the poll, you can tap the paper airplane icon next to their name. This will start a direct message conversation and can be a great way to get to know your community more.
Add your own spin to your Instagram Story poll
Once you’ve mastered polls on Instagram Stories, you can start to add your own spin on things. Keep reading to see some easy ways to get started.
3 easy ways to add some creativity to your Instagram Story poll
Create a series (like the ones included in this recipe!) this encourages your followers to play along and have fun doing it
To save time, upload multiple Story slides at once. While in your recent photos, tap “Select”. This will bring up a grey circle in the top right corner of all of your photos. Tap on the photos you want to include. The numbers correspond to the order in which the photos will show up.
Use emojis instead of words to bring more color and save character space
Keep it simple. Short on time or trying to hone in on one topic specifically? Use one image to ask questions like “yes or no” or “true or false”
Get more inspiration in our post, 7 Engaging Instagram Story poll ideas.
Get your guide and free templates by clicking the download below!


