Ripl 101: Create your first Ripl post
- Ripl Team
- Jun 18, 2020
- 2 min read
Updated: Oct 9, 2020
Follow this easy guide to learn how to create a Ripl social media post on the Ripl web app or the Ripl mobile app.
On the web app:
Step one: Navigate to the “Home” page to explore suggested templates, or select “Let’s Start Something New” to start from scratch.
Step two: You’ll be taken to the “Customize” page, where you can customize your Ripl.

Step three: Customize your post by changing the design, adding media, changing your text, font, and font color, adding music, and adjusting the size of your post.

Step four: Press “Play” below your Ripl to preview it. Once you’re happy with how your Ripl looks, Click "Next" in the upper right corner.
Step five: Choose what format you’d like your Ripl to be downloaded in (Full HD, Standard HD, or Static Image) and click "Next".
And that's it! You're on your way to scheduling and sharing.
On the mobile app:
Step one: Tap the "Inspiration" light bulb icon at the bottom to explore suggested templates, or tap the + to start from scratch.
Step two: This will pull up the "Create A Ripl" step, where you can pick your post size, as well as add photos, video and text to be included in your post. You can find all of these editing tools at the bottom of your screen by swiping left and right.
Step three: Choose your post size. You can share a square (1:1), vertical (9:16) or landscape (16:9) post with Ripl. You can select your post size by tapping the 3 dots above your keyboard, then selecting the post size above the keyboard on the right side. We recommend using square posts for sharing across Instagram and Facebook, and vertical posts for stories.
Step four: Add photos. You can add photos to your post from your OneDrive, Dropbox, Google Drive, Photos app or search Flickr for stock images (iOS only) by tapping "Add photos or videos".
Step five: Add a website. You can add your website by tapping the 3 dots above your keyboard, then "Create post from a webpage." The website URL will then show up in the caption of your post. Once shared to social media, the link in the caption can be clicked to launch your website.
Step six: Once you've picked your post type, size and added text and/or photos, tap the ">" in the upper right corner to proceed to the "Customize" screen where you can customize your post.
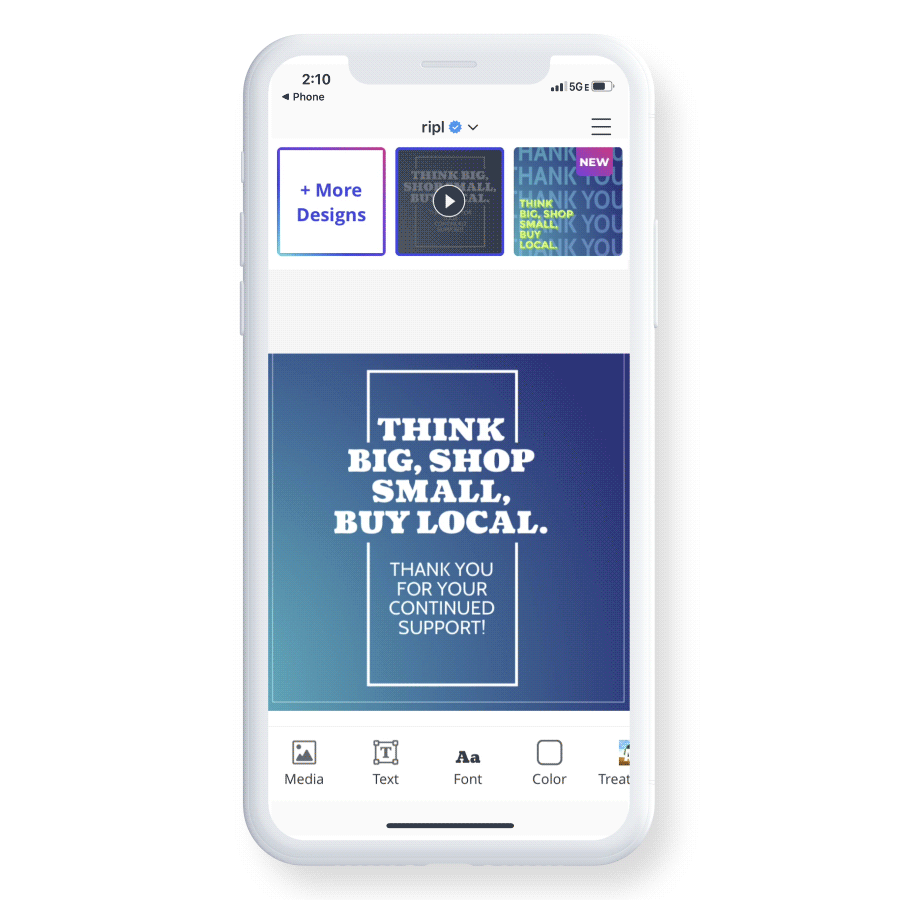
Step seven: Customize your post by adding media, changing your text, font, and font color, adding music, adjusting the size of your post, and adding an optional brand slide.

Step eight: Tap the ">" in the upper right corner.
Step nine: Choose what format you’d like your Ripl to be downloaded in (Full HD, Standard HD, or Static Image) and tap "Next".
And that's it! You're on your way to scheduling and sharing.


Kommentare